
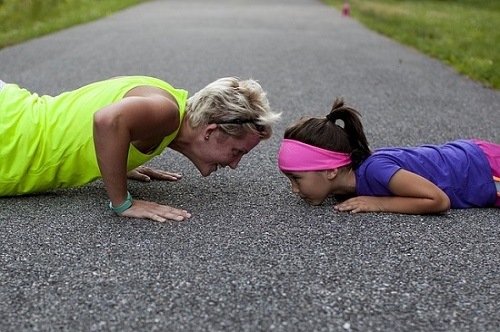
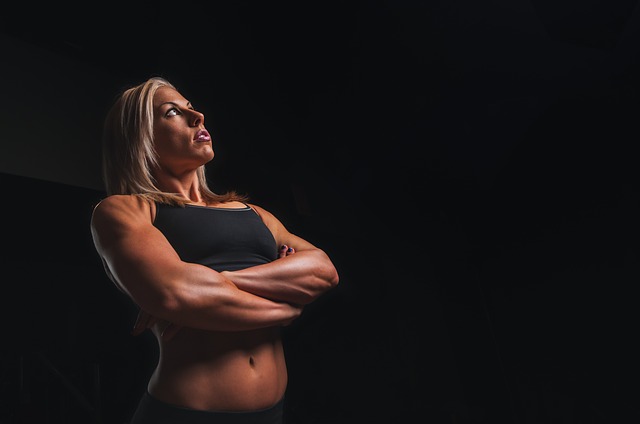
Before you think of breast augmentation using breast implants, consider non-surgical ways to increase your breast size. One extremely effective, budget-friendly and natural method to achieve this is by exercising. A warning, though, you can’t do just any exercise. You must follow a breast enlargement exercise routine that specifically develops your upper body – and the chest, in particular.
In this article, you will learn two progressions: one for push-up and another for chest dip. Each progression has five exercises arranged in the increasing order of difficulty. After this, you will get five bonus exercises you can use for breast enhancement.
Breast Enlargement Exercises: Progression for Push-Up
You will receive great benefits from this breast enlargement exercise. While push-ups will not enlarge your breasts directly, it does strengthen the muscles that support your chest. So, even if you don’t notice any increase in measurements, your breasts will appear larger. Mastering this progression will also make your boobs look firmer and shapelier.
1. Start at the Beginner Level with Surprisingly Effective Wall Push-Ups
This is the easiest of the five breast exercises in this progression. It requires no equipment and almost anyone who is reasonably healthy can do this. Here are the steps:
 Stand approximately an arm-length away from a wall.
- Keep your feet together and place your palms on the wall. Your palms must point upwards. This is the start position.
- Bend your elbows until your forehead touches the wall. This is the final position. Take four counts for this motion.
- Remember to keep your body straight. Don’t arch your spine backward or forward.
- Hold the final position for two counts and then straighten your elbows until you’re back in the start position. Take four counts for this motion.
- Breathe in for the first motion and breathe out for the second motion.
Before you move to the next exercise in the progression, you should be able to do three sets of 50 repetitions. However, you should increase sets and repetitions systematically. To do this, follow the plan below:
- Week One: Do one set of 10 repetitions.
- Week Two: Do two sets of 10 repetitions.
- Week Three: Do three sets of 10 repetitions.
- Week Four: Add five repetitions to each set.
- Week Five and Beyond: Continue adding five repetitions to each set every week until you can do three sets of 50 repetitions.
2. Moving From the Beginner to Intermediate Level with Incline Push-Ups
 For this exercise, you will need a sturdy object that is more than half your height. Common objects you can use for this purpose are kitchen counters, tables, low walls, and tall chairs. However, make sure the object can take the stress. Okay, here are the instructions for incline push-up.
- Stand an arm-length away from the object.
- With your feet together and your spine straight, lean towards the object and grasp it firmly.
- Check whether your arms are shoulder-width apart. This is the start position.
- Lower your body by bending your elbows and shoulders until your torso touches the object gently. This is the final position. Take four counts for this motion.
- After holding the final position for two counts, raise your body by straightening your elbows and shoulders until you reach the start position. Take four counts for this movement.
- Breathe in for the first motion and breathe out for the second motion.
If the object is too low, you may find incline push-ups hard to do. In that case, choose a taller object. The progression standard for this exercise is three sets of 40 repetitions. You can follow a plan similar to the one you read in the previous exercise. This progression takes about nine weeks.
3. Intermediate Level: Kneeling Push-Up
This exercise requires no equipment. Some of you may be able to do this exercise right away. But, please stick to the progression and work your way through wall push-ups and incline push-ups before you try this. This makes it easier for you to follow the rest of the progression. After you hit progression level for the first two exercises, follow these steps to do a kneeling push-up.
 Kneel on the floor and lean forward to place your palms on the floor. Your palms must point straight ahead.
- Make sure your legs are together, your arms are shoulder-width apart, and your spine is aligned. This is the start position.
- Lower your body by bending your elbows and shoulders.
- Your knee is the pivot point.
- Continue lowering your body until your chest is three to four inches from the floor. This is the final position. Use four counts for this motion.
- Hold the final position for two counts. Then straighten your elbows and shoulders until you reach the start position.
- Breathe in for the first motion and breathe out for the second motion.
You can move to the next exercise after you can do three sets of 30 repetitions. Again, you must follow the systematic plan described previously to increase your repetitions per set. This exercise takes about seven weeks to master.
4. Going from the Intermediate to the Advanced Level via Half Push-Ups
You are now one step away from doing a full push-up. If you follow the progression to the letter, you will have no difficulty with this step. If you didn’t, you’re going to struggle with it. For this exercise, you will need a basketball or a soccer ball. These steps will explain why:
 Assume the start position for kneeling push-up. Then, stretch your legs backward. This is the start position.
- Make sure your body is straight. You shouldn’t be arching your spine inward or outward. Also, you shouldn’t be bending your butt or hip upward.
- Place the ball below your torso.
- Lower your body by bending your elbow and shoulders until you gently touch the ball. This is the final position. Take four counts for this movement.
- Hold the final position for two counts. Then, raise your body by straightening your elbow and shoulders until you reach the start position.
- Breathe in for the first movement and breathe out for the second movement.
Before you move to the next exercise in the progression, you should be able to do two sets of 25 repetitions. You can use the same method to scale your repetitions except for one minor change – do two sets instead of three. You may take up to five weeks to meet the progression standard.
5. Congratulations, You’ve Made It All the Way Past the Advanced Level by Doing Full Push-Ups
The full push-up is a stellar breast augmentation exercise. For this exercise follow the same process as above, but without the ball. Go all the way down until you are two to three inches above the ground. You can use the same repetition building strategy you used for the previous exercise. Aim for two sets of 20 repetitions. This may take you up to four weeks.
 Here’s an extra tip:
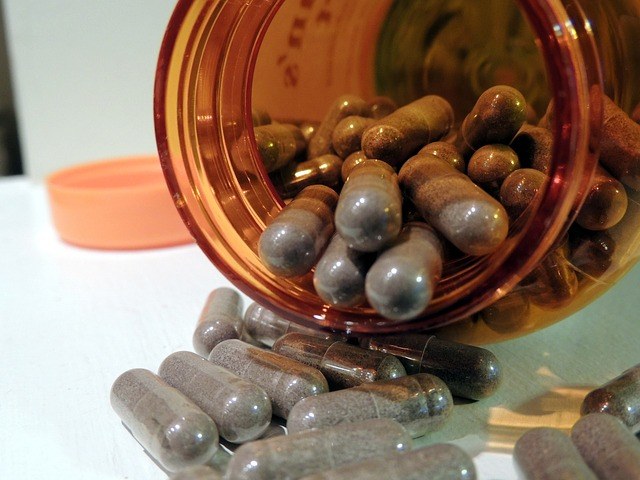
When you reach this level, you will notice an increase in your libido. You can bolster this gain with a libido enhancement supplement like the one that hersolution natural women’s libido supplement. The libido boost grants more motivation to exercise. More exercise means more libido increase. In this way, you can initiate an amazing virtuous cycle, but remember to check with your doctor first.
The Best Breast Enhancement Exercises You Can Do: The Simple Progression for Dips
The chest dip is one the best breast enhancement exercises you can do. This exercise primarily strengthens your chest, triceps, and front shoulders. In addition to this, your core receives secondary benefits. The progression standard for each exercise is three sets of 20 repetitions. You can follow the same strategy you used for building repetitions in the push-up progression. So, there’s no need to explain it again. Instead, you’ll learn the method for each exercise.
6. Beginner Level: The Easy Bent-Knee Bench Dip
Start with the simplest of the five breast enlargement exercises – the bent-knee bench dip. For this exercise, you will need a sturdy bench. You can use a chair, but make sure it is strong enough and stable enough to bear the load. Here are the steps for this exercise.
 Sit on the edge of a bench and place your palms on it. Your palms must point forward.
- Lift yourself off the edge such that your body hangs over the floor. This is the start position.
- Lower your body until your butt just touches the ground. This is the final position. Take four counts for this motion.
- Hold the final position for two counts.
- Then, raise your body to the start position. Take four counts for this motion.
- Keep your upper body and head straight at all times. Also, make sure your arms are close to your body.
- Breathe in while you lower yourself and breathe out while you raise yourself.
This exercise requires more strength and mobility than its counterpart for push-ups. That’s why you should attempt this exercise only after you master the first three exercises in the push-up progression. Also, if you are not able to go all the way down, go as much as you can. You can gradually deepen the range of motion as you get stronger.
7. Beginner to Intermediate Level: Strengthen Even More with Elevated-Leg Bench Dips
To do elevated-leg bench dips, you will need a bench and a chair of approximately the same height. In the previous exercise, your legs do some of the work. In this exercise, you will take legs out of the equation. Here’s how that works:
 Place a chair around a leg-length away from the bench.
- Sit on the edge of a bench and place your palms on it. Your palms must point forward.
- Place your legs on the chair such that your ankles rest on the chair. Adjust the distance between the chair and bench if you need to.
- Lift yourself off the edge such that your body hangs over the floor. This is the start position.
- Lower your body as much as you comfortably can. This is the final position. Take four counts for this motion.
- Hold the final position for two counts. Then, raise your body to the start position. Take four counts for this motion.
- Keep your upper body and head straight at all times. Also, make sure your arms are close to your body.
- Breathe in while you lower yourself and breathe out while you raise yourself.
A word of caution, if you aren’t strong enough you may lack control over your body. This can cause accidents. So, if you’re finding this exercise difficult, you can get stronger by just holding the start position. When you can just remain in this position for about two minutes, you can proceed with the full exercise.
8. Intermediate Level: Leg-Supported Dips That Make Chairs Your Best Friends
To do this exercise, you will need two stable chairs. Make sure the chairs are of equal height. Once you have these ready, this is how you can use the chairs to do leg-supported dips.
 Place the chairs back to back.
- Then, move them away until you can stand comfortably between them.
- The top of the chairs’ backrest should form a parallel-bar-like structure.
- Hold the top of each chairs’ backrest with the corresponding arm.
- Keeping your body straight, lower your body as much as you can.
- Once you go low enough, raise your body.
- The breathing format and rhythm is the same as other exercises.
Since your legs are on the ground, you will receive some assistance from the legs. But, try using more of your arms than legs. Keep working until your feet are barely taking any load. Once you reach this point, you can move to the next exercise.
9. Intermediate to Advanced Level: Half Dips to Sculpt and Tone
The setup for this exercise is the same as the previous exercise. The only difference is in the steps. The differences are as follows:
- Your legs must not be in contact with the floor.
- You only go half-way down. In other words, lower yourself until your upper arms are parallel to the ground.
Once you meet the progression standard for this exercise, you can move to the next one.
10. Advanced Level: Full Dips for Added Endurance
 You don’t have to change anything for this exercise except one thing. To do full dips, you will lower and raise yourself across the entire range of motion. This means your upper arms will move beyond the parallel-to-the-floor mark. After you achieve the standard, you can add repetitions to enhance endurance.
Other Effective Breast Enlargement Exercises You Can Try at Home
While you can do the previous breast enlargement exercise at home, you may need to enroll yourself in a gym for the following exercises – except the last one.
11. Swimming: Fun, Refreshing and Good for Your Boobs, Too
Swimming is an awesome breast lift exercise. The breaststroke, in particular, is a wonderful way to work your chest, back, arms, butts, and legs. It will improve the overall tone of your body.
12. Yoga: Great for Every Part of You, Inside and Out
Yoga has some great asana, or poses, that can help enhance your breast size. For example, the cobra pose, the cow pose, the camel pose, tree pose, and double-angle pose.
13. Grab Those Dumbbells: Chest Press and Variants
 Chest presses focus attention on your chest. To do this exercise, follow these steps:
- Lie on your back and hold a dumbbell in each hand.
- Extend your arms such that they are perpendicular to the ground.
- Lower the dumbbells down until they touch your chest.
- Raise the dumbbells again.
To keep things interesting, you can try variations of this exercise, such as incline dumbbell chest press, decline dumbbell chest press, dumbbell floor chest press, and dumbbell wrist rotation chest press.
14. Chest Fly and Variants to Keep Things Interesting for You
The chest fly is a close relative of the chest press. There are many similarities between the two exercises. However, there are some essential differences too. Here’s a look at the similarities and differences.
- The start position for chest fly is the same as chest press.
- However, unlike chest press, you won’t bring the dumbbells down vertically.
- Instead, you will lower the dumbbells by dropping your arms to the side.
15. Breast Massage: An Undervalued Breast Enhancement Technique
 You can administer a self breast enlargement massage. Massaging your breasts can increase their size, prevent them from sagging, decreases your stress, gives you pleasure, and makes your boobs look younger. So, spending the time to massage your breasts and learning how to do it properly is worthwhile. To learn the proper motion and method, refer these breast enlargement exercise images.
Begin Your Journey Today – You Won’t Regret It
Here’s a simple truth – your body knows its own perfection. When you give your body the right amount of exercise, nutrition, and rest, this perfection begins to shine through. For most people, this is easier said than done, but not for you – because you know what needs to be done.
Now, infuse this knowledge with your energy and take action. No matter how out of shape you are, you can master a breast enlargement exercise within three months. As you master them, you’ll be glad you started today. So, get going now – you want gorgeous breasts and you can have it.